Have you ever looked at a tiny, perfectly decorated little house and thought, “I want to make that”? You are not alone. DIY miniature kits have taken the crafting world by storm — and for good reason. They are creative, calming, deeply satisfying, and the finished piece looks absolutely stunning on any shelf or desk.
Whether you are a complete beginner or someone who has tried a kit before, this guide covers everything you need to know — from choosing the right kit to pro tips your competitors won’t tell you.
What Are DIY Miniature Kits?
A DIY miniature kit is a craft set that contains pre-cut wooden (or plastic) pieces, glue, tiny furniture, fabric, LED lights, and step-by-step instructions. You assemble everything by hand to create a small, detailed scene — think a cozy coffee shop, a flower-filled cottage, a Japanese tea room, or a vintage bookstore.
These kits come in many styles and difficulty levels, making them perfect for kids (ages 14+), teens, adults, and even seniors looking for a relaxing, screen-free hobby.
Why People Love DIY Miniature Kits
Most people start a DIY miniature kit for one reason — they look beautiful. But they keep coming back because:
- Building tiny things is surprisingly meditative and stress-relieving
- You feel a real sense of pride and accomplishment when you finish
- The finished kit becomes a gorgeous home décor piece
- They make thoughtful, personal gifts that no store-bought item can match
- They sharpen your focus, patience, and hand-eye coordination
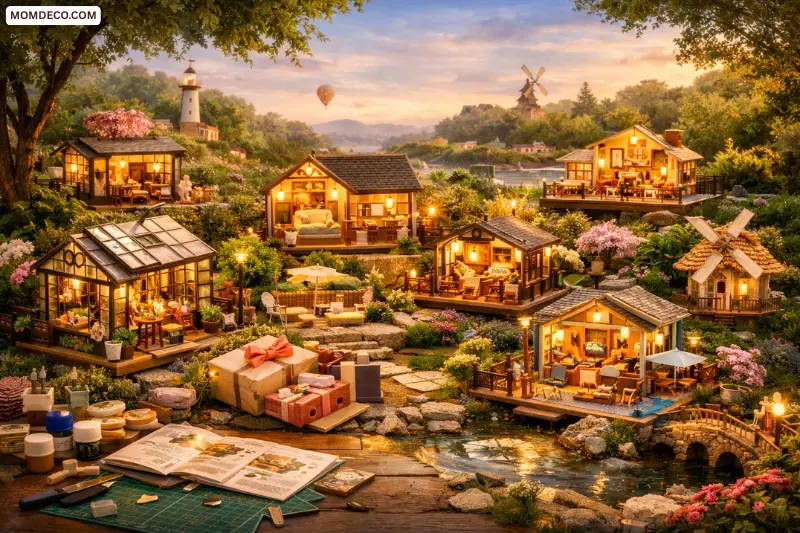
- You can collect and display multiple kits to build an entire miniature world
Types of DIY Miniature Kits
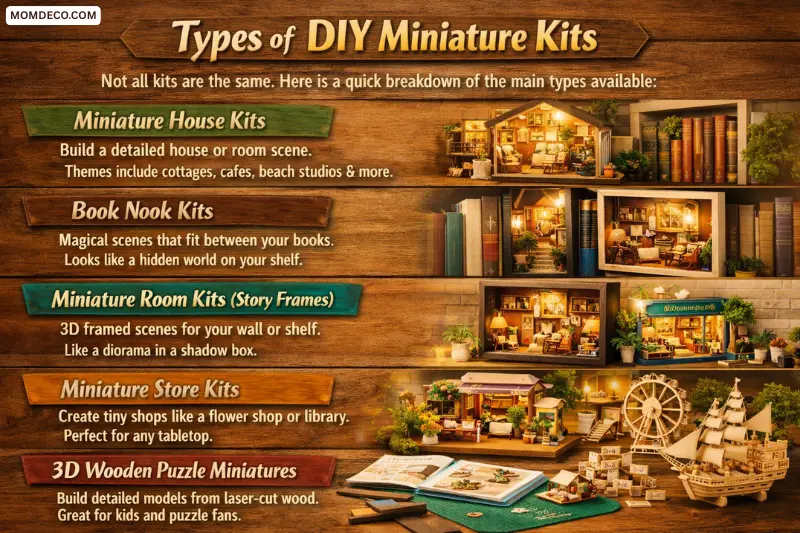
Not all kits are the same. Here is a quick breakdown of the main types available:
- Miniature House Kits These are the most popular type. You build a small house or room scene complete with furniture, wallpaper, curtains, and lighting. Themes range from garden cottages and bakeries to Japanese cafes and seaside studios.
- Book Nook Kits These fit inside a bookshelf and create a hidden world between your books. They are flat at the back and deep enough to look like a tiny portal into another scene. A fan favorite for book lovers.
- Miniature Room Kits (Story Frames) These create a framed room scene — like a picture frame but in 3D. They hang on your wall or stand on a shelf and look like a diorama.
- Miniature Store Kits Tiny shop scenes — a flower shop, a candy store, a library — that sit beautifully on any surface.
- 3D Wooden Puzzle Miniatures These are more structural, focusing on the building process rather than decorative detail. Great for kids and puzzle lovers.
How to Choose the Right DIY Miniature Kit
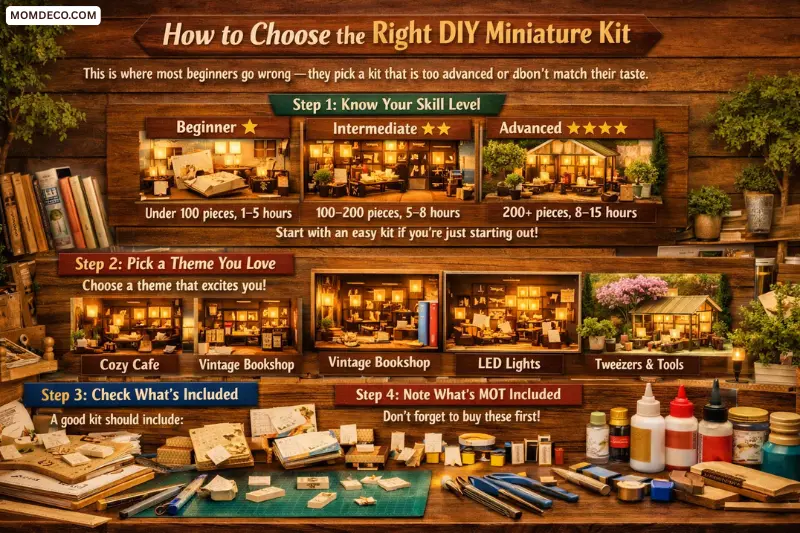
This is where most beginners go wrong — they pick a kit that is too advanced or doesn’t match their taste. Here is how to choose wisely:
Step 1: Know your skill level
- Beginner (1-star kits): Under 100 pieces, takes 1–5 hours, no prior experience needed
- Intermediate (2–3 star kits): 100–200 pieces, takes 5–8 hours, some craft experience helpful
- Advanced (4–5 star kits): 200+ pieces, takes 8–15 hours, requires patience and steady hands
Always start with a beginner kit if this is your first time. It builds confidence and teaches you the techniques you will use in harder kits later.
Step 2: Pick a theme you love
You will be staring at this thing for hours while building it and displaying it afterward. Choose a theme that genuinely excites you — a cozy café, a cherry blossom garden, a vintage bookshop. Your enthusiasm will carry you through the tricky moments.
Step 3: Check what is included
A good kit should include:
- Pre-cut wooden or plastic pieces
- Step-by-step instruction manual (with pictures)
- Miniature furniture and accessories
- Fabric swatches and decorative paper
- LED lights or battery pack (for illuminated kits)
- Tweezers and basic tools
Step 4: Note what is NOT included
Most kits do not include glue or batteries. Always buy these before you start:
- White craft glue (PVA) — for paper and fabric
- Super glue (cyanoacrylate) — for wood-to-wood joints
- AAA or AA batteries — check the product page for the exact type
- Tweezers — essential for placing tiny pieces
What Competitors Don’t Tell You: 10 Insider Tips for Building DIY Miniature Kits
These are the tips that separate a smooth, enjoyable build from a frustrating one.
1. Read the whole manual before you start. Spend 10–15 minutes reading through all the steps before gluing a single piece. You will spot potential pitfalls early and understand how everything fits together.
2. Sort all your pieces first. Lay out every piece by type and number before you begin. This saves enormous time hunting for that one tiny part mid-build.
3. Dry-fit before you glue. Always test how two pieces fit together before applying glue. Once glue is on, you have very little time to adjust.
4. Use toothpicks to apply glue precisely. Dip a toothpick into the glue and apply it to tiny areas. This gives you control and prevents messy over-gluing, which can ruin the look of wooden pieces.
5. Use spaghetti strands as support. While waiting for glued pieces to dry, thin pieces of uncooked spaghetti make surprisingly perfect temporary supports and spacers. An old trick that experienced miniature builders swear by.
6. Work in good lighting. Tiny pieces under dim light is a recipe for mistakes and eye strain. A simple daylight lamp or LED desk light makes a huge difference.
7. Don’t rush the LED wiring. If your kit includes LED lights, do the wiring step slowly and test the lights before closing up any walls. Rewiring after assembly is nearly impossible.
8. Pre-paint or stain wood pieces before assembly. Some builders paint individual wooden pieces before assembly for a cleaner, more professional finish. This is especially useful for window frames and furniture legs.
9. Store your kit properly between sessions. If you build over multiple days, keep your partial build in a box with a lid. Dust and pets can ruin your progress overnight.
10. Display your finished kit away from direct sunlight. UV light fades the colors on paper, fabric, and wood over time. Keep your finished miniature on a shelf away from windows for long-lasting beauty.
How Long Does a DIY Miniature Kit Take?
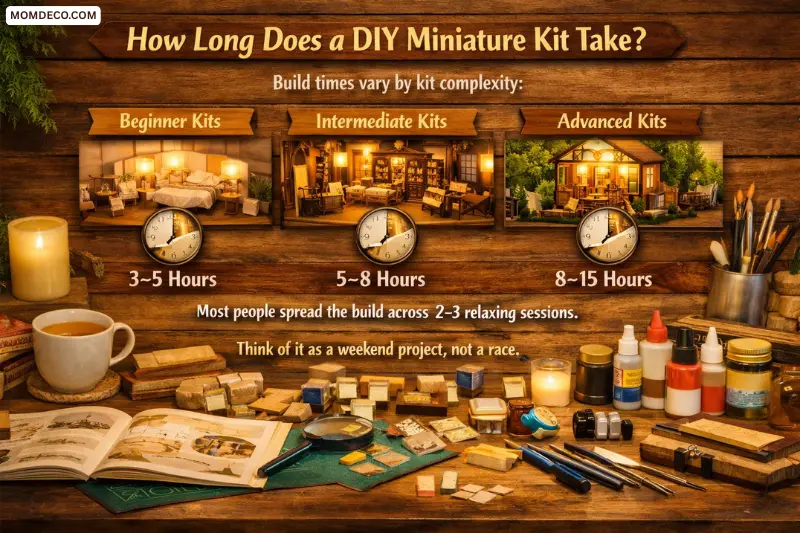
Build times vary by kit complexity:
- Beginner kits: 3–5 hours
- Intermediate kits: 5–8 hours
- Advanced kits: 8–15 hours
Most people spread the build across 2–3 relaxing sessions. Think of it as a weekend project, not a race. The slower and more carefully you build, the better the result.
DIY Miniature Kits as Home Décor
This is something competitors rarely talk about — how to actually display your finished kit.
Your finished DIY miniature kit is a piece of art. Here are some smart ways to display it in your home:
- Place it on a floating wall shelf at eye level for maximum visual impact
- Group 2–3 kits together on a gallery wall for a stunning curated look
- Use a glass display case or dome to protect it from dust
- Add a small spotlight (clip-on LED) above the kit to make it glow like a real room at night
- Mix your miniature with trailing plants, candles, and books for a styled shelfie moment
Many interior designers now use DIY miniature kits as unique, handmade accent pieces — and the best part is, you made it yourself.
Are DIY Miniature Kits Good for Mental Health?
Yes, genuinely. Building miniature kits is a form of mindful making. When you focus on placing a tiny piece of furniture in exactly the right spot, your brain switches off from stress and into a calm, present state. Research on craft hobbies consistently shows that hand-based creative activities reduce cortisol (the stress hormone) and improve mood.
Miniature building also gives you a healthy sense of control and achievement — especially helpful on days when the bigger world feels chaotic.
DIY Miniature Kits as Gifts
A DIY miniature kit is one of the most thoughtful gifts you can give. Here is why:
- It is an experience, not just an object
- It suits a wide age range (teens to adults to seniors)
- It results in a beautiful keepsake they made themselves
- It is far more personal than a candle or a gift card
Choose a theme that matches the recipient’s personality — a coffee shop kit for the café lover, a flower house for the garden enthusiast, a bookstore for the reader in your life.
Frequently Asked Questions About DIY Miniature Kits
Q1. Are DIY miniature kits suitable for beginners with zero craft experience?
Absolutely. Beginner-level kits are specifically designed for people with no prior experience. The pieces are pre-cut, the instructions are picture-guided, and the process is broken into simple, manageable steps. You do not need any special skills — just patience and a steady hand.
Q2. What age is appropriate for DIY miniature kits?
Most kits are recommended for ages 14 and up due to small pieces. Adult supervision is advised for younger children. That said, many adults in their 30s, 40s, 50s, and beyond enjoy these kits enormously as a relaxing hobby.
Q3. Do I need to buy extra tools or supplies?
You will typically need craft glue (PVA), super glue, tweezers, and batteries. Some kits include tweezers, but most do not include glue or batteries. Always check the product listing and have these on hand before you open the box.
Q4. How do I fix a mistake mid-build?
For wood-to-wood glue joints: if the glue has not fully dried, gently pull the pieces apart and reposition. For dry mistakes: a small amount of acetone (nail polish remover) on a toothpick can soften most wood glue. For paper and fabric: carefully peel away with a craft knife and re-glue.
Q5. Can I customize my DIY miniature kit?
Yes — and this is one of the most enjoyable parts. Many builders paint over the included colors, add extra miniature plants or accessories, swap out fabric pieces, or add extra LED string lights. There is no rule that says you must follow the instructions exactly.
Q6. How do I keep my finished kit clean?
Use a soft artist’s paintbrush to gently dust the surface every few weeks. Avoid water or sprays. A glass display case is the best long-term protection from dust, pets, and curious hands.
Q7. What is the difference between a 1:12 scale and a 1:24 scale kit?
Scale refers to how the miniature compares to real life. A 1:12 scale means 1 inch in the miniature equals 12 inches in real life. A 1:24 scale is half that size — smaller and more delicate. Beginners often find 1:12 scale easier to work with because the pieces are larger.
Q8. Are DIY miniature kits worth the price?
Yes. A quality kit provides several hours of creative enjoyment plus a finished product that functions as a permanent home décor piece or collectible. When you factor in the time, skill, and materials involved, DIY miniature kits offer excellent value compared to buying handmade décor.
Q9. Can I leave the LED lights on all the time?
Most kits use battery-powered LEDs, so leaving them on continuously will drain batteries quickly. Switch them on when you want to enjoy the display and off afterward. Some kits support USB power, which makes this more practical.
Q10. Where can I find a community of miniature builders?
Pinterest boards and subreddits like r/miniatures are great places to find inspiration, share progress photos, and get advice. The miniature building community is warm, encouraging, and full of talented people at every skill level.
Final Thoughts
DIY miniature kits are more than a craft project — they are a way to slow down, create something beautiful, and bring a little magic into your everyday space. Whether you build one as a personal creative outlet, a mindful weekend activity, or a stunning piece of home décor, the experience is always worth it. Start with a beginner kit, take your time, follow the tips in this guide, and you will end up with something you are genuinely proud to display.
Your tiny world is waiting.