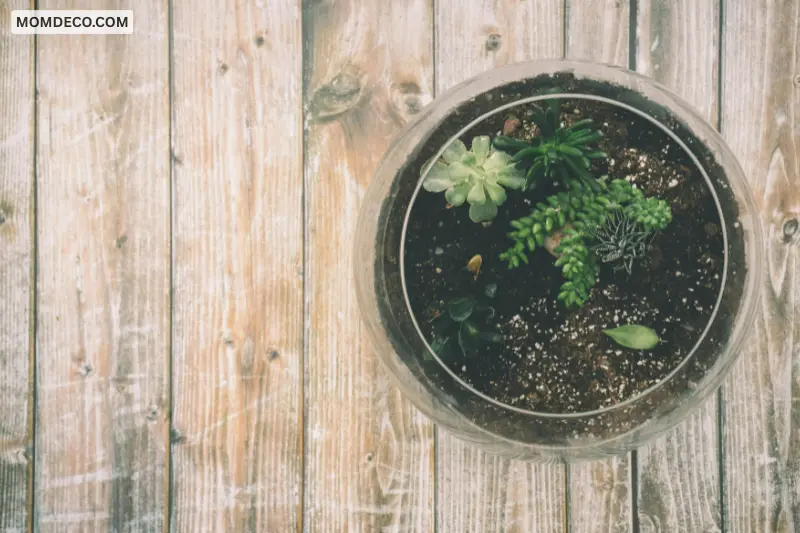
Creating a diy terrarium is one of the easiest and most creative ways to bring nature indoors. It allows you to design a miniature ecosystem inside a glass container that looks beautiful and stays low-maintenance when built correctly.
Unlike traditional gardening, a diy terrarium does not require much space or advanced skills. However, success depends on understanding the right balance of plants, moisture, soil, and light. In this guide, you will learn five proven tips that help you build a healthy and long-lasting terrarium that stands out from basic beginner setups.
Tip 1 – Choose the Right Glass Container for Your DIY Terrarium

Why Container Choice Matters
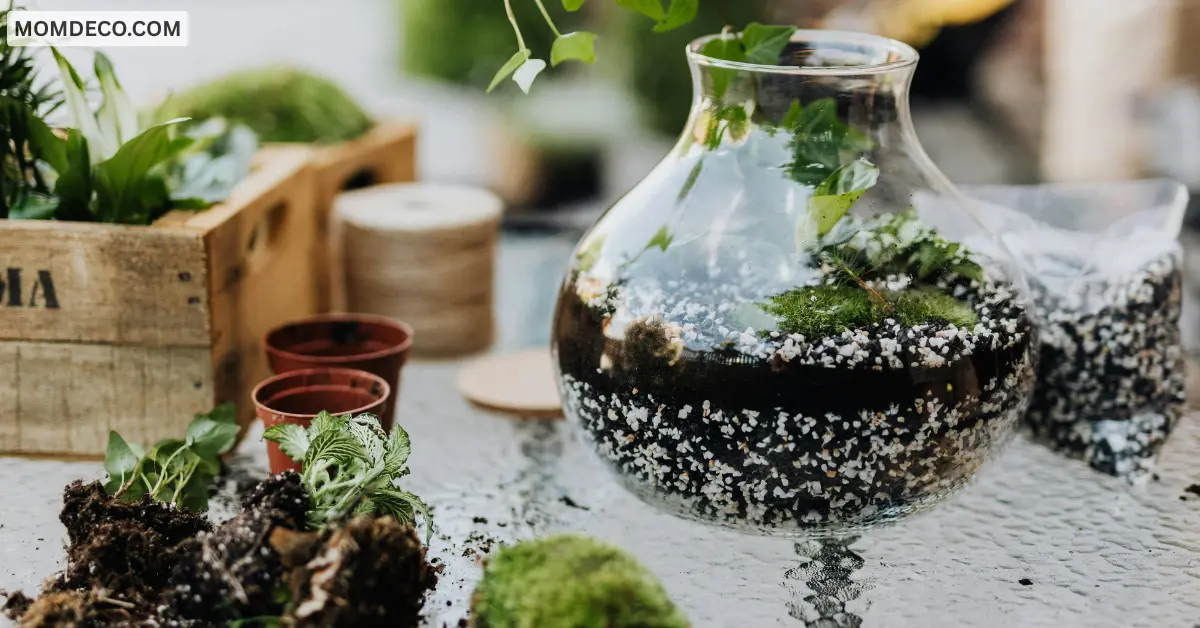
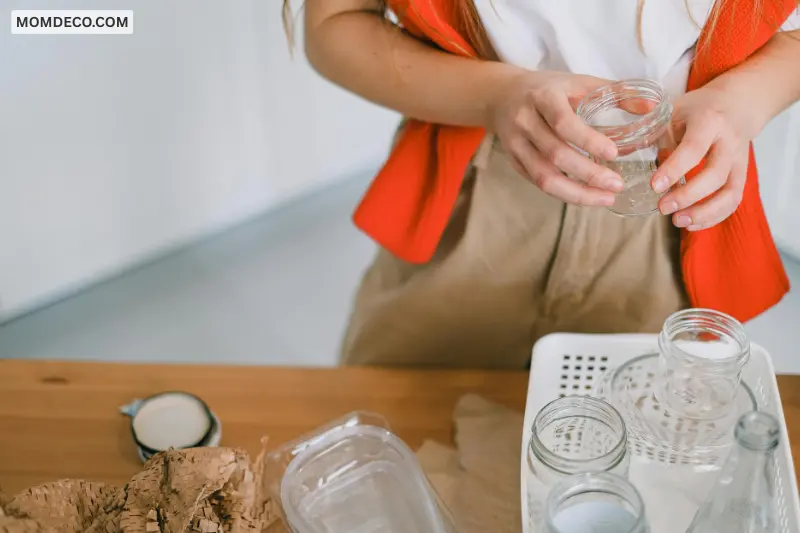
The foundation of a successful DIY glass garden starts with the glass container. Many beginners focus only on appearance, but shape and size directly affect plant health and airflow.
Best Container Types
Closed containers like jars or vases are ideal for tropical setups because they maintain humidity. Open containers work better for succulents and dry plants.
A wide-mouth glass container is always recommended because it makes planting easier and improves design flexibility. Choosing the right container ensures your diy terrarium stays balanced and easy to maintain.
Tip 2 – Build a Proper Drainage Layer
Prevent Root Rot and Overwatering
Drainage is one of the most important parts of any glass jar garden project, yet it is often ignored by beginners. Without it, excess water collects at the bottom and damages plant roots.
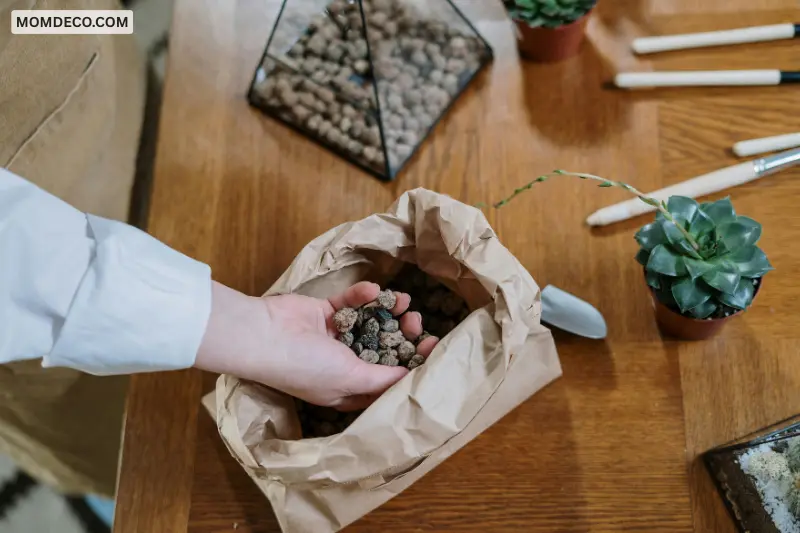
How to Layer Properly
Start with small pebbles, gravel, or LECA at the bottom. Then add a thin layer of activated charcoal to reduce odor and bacteria growth.
Finally, place a terrarium soil mix on top. This structure helps your handcrafted terrarium maintain a healthy water balance and prevents long-term issues.
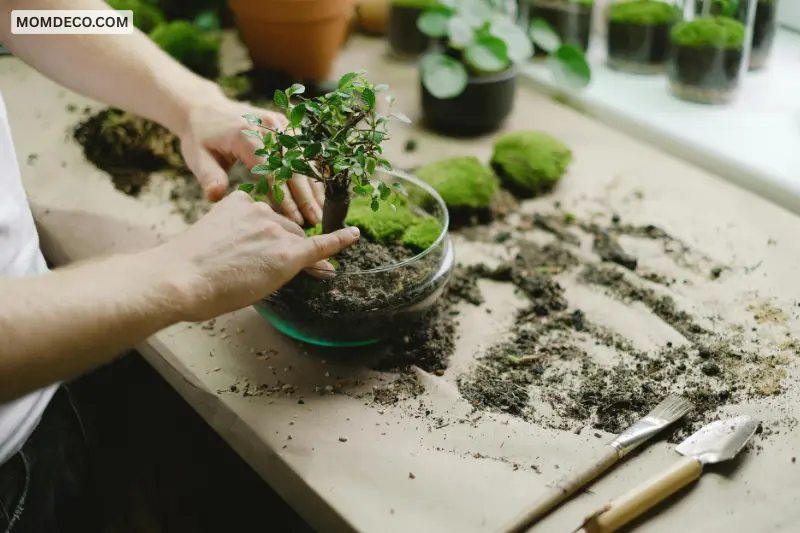
Tip 3 – Select the Right Plants for a Healthy Ecosystem

Best Plants for DIY Terrarium Setup
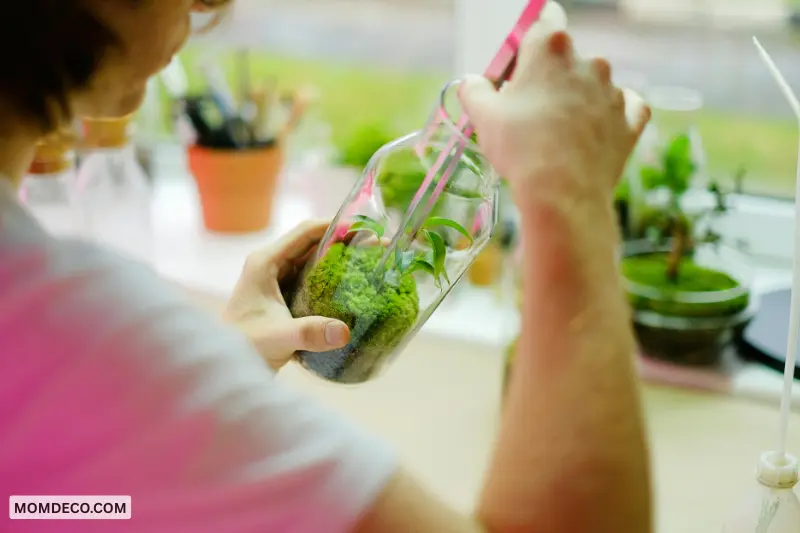
Plant selection plays a huge role in the success of a small indoor ecosystem. Tropical and humidity-loving plants perform best in closed environments.
Good choices include:
- Fittonia (nerve plants)
- Small ferns
- Peperomia
- Moss varieties
Plants to Avoid
Avoid succulents and cacti in closed terrariums because they prefer dry environments. Using the right plants ensures your diy terrarium stays healthy and visually balanced.
Tip 4 – Master Watering and Humidity Control
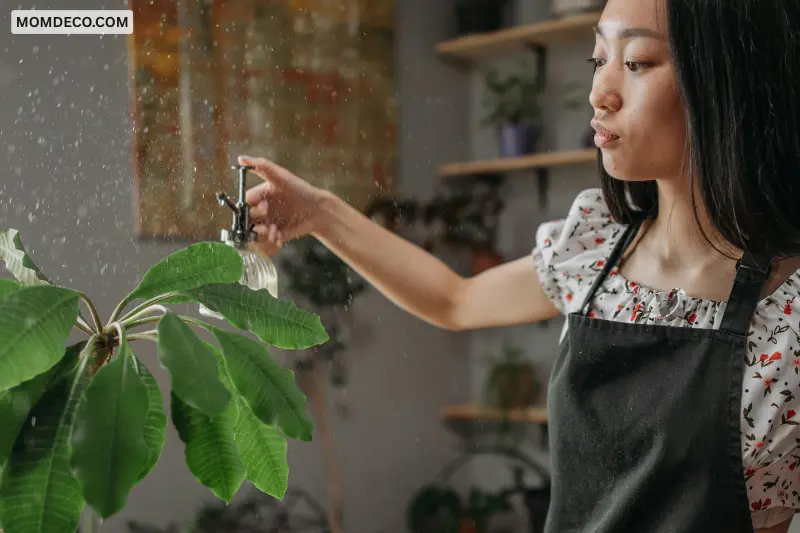
Maintain the Right Moisture Level
Watering is often where beginners go wrong. A diy terrarium should remain slightly moist, not soaked.
After setup, lightly mist the soil and observe condensation. A healthy system will show light fog in the morning that disappears during the day.
Fixing Common Moisture Problems
Too much condensation → open lid for airflow
Dry soil → lightly mist the plants
Constant wet soil → reduce watering immediately
Proper humidity control keeps your diy terrarium stable and self-sustaining.
Tip 5 – Provide Proper Light and Long-Term Care
Best Lighting Conditions
Light is essential for a thriving diy terrarium. Place it in bright, indirect sunlight to prevent overheating.
Avoid direct sunlight, as it can create a greenhouse effect and damage plants quickly.
Simple Maintenance Routine
Long-term care is minimal but important:
- Remove dead leaves regularly
- Trim overgrown plants
- Rotate container for even growth
- Check for mold or excess moisture
With proper care, your diy terrarium can last for years with very little effort.
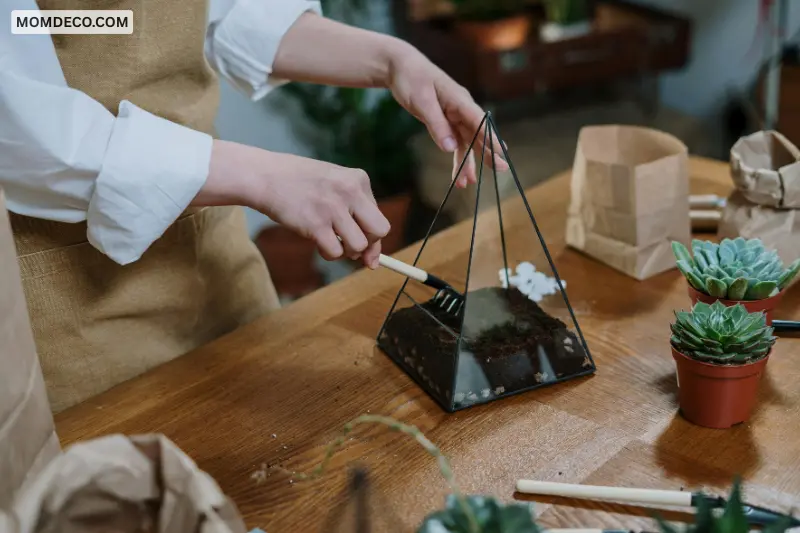
Tip 6 – Use Activated Charcoal for a Healthier Ecosystem

Why Charcoal Improves Your DIY Terrarium
Activated charcoal is often skipped by beginners, but it plays an important role in keeping your diy terrarium clean and fresh. It helps absorb toxins, prevents bad odors, and reduces bacterial growth inside the glass container.
How to Use It Correctly
Simply add a thin layer of activated charcoal above the drainage layer before adding soil. This small step improves air quality inside your diy terrarium and helps it last much longer with fewer maintenance issues.
Tip 7 – Don’t Overcrowd Your DIY Terrarium Design
Give Your Plants Space to Grow
One of the most common beginner mistakes is overcrowding. A successful diy terrarium needs space for plants to breathe and grow naturally. When too many plants are placed together, airflow decreases and moisture builds up too much.
Keep It Minimal and Balanced
Choose a few well-matching plants instead of filling every empty space. A clean, minimal design not only looks more aesthetic but also keeps your diy terrarium healthier and easier to maintain over time.
Tip 8 – Clean Your Glass Container Before Starting
Why Clean Glass Matters in a DIY Terrarium
A clean container is often ignored, but it’s essential for a healthy diy terrarium. Dust, oil, or bacteria inside the glass can affect plant growth and cause mold issues later.
How to Do It Properly
Wash the glass container with warm water and mild soap, then dry it completely before adding any layers. This ensures a fresh and stable environment for your diy terrarium from the beginning.
Tip 9 – Choose the Right Substrate Mix for Plant Health
Best Soil for a DIY Terrarium
Soil is the foundation of a successful diy terrarium. Using regular garden soil can lead to poor drainage and pests. Instead, use a light terrarium mix that holds moisture but still drains well.
Ideal Soil Combination
A good mix usually includes coco coir, perlite, and a bit of organic matter. This helps your diy terrarium stay balanced, breathable, and nutrient-rich for long-term plant growth.
Tip 10 – Rotate Your DIY Terrarium for Even Growth
Prevent Leaning and Uneven Plants
Plants in a diy terrarium naturally grow toward light sources. If the container stays in one position, plants may start leaning in one direction.
Simple Maintenance Habit
Rotate your terrarium every 5–7 days so all sides receive equal light. This keeps your diy terrarium looking balanced, natural, and visually appealing from every angle.
Common Mistakes to Avoid in DIY Terrarium Building
Beginner Errors That Damage Terrariums
Many beginners fail because of simple mistakes:
- Skipping drainage layer
- Overwatering plants
- Using wrong soil type
- Overcrowding plants
Avoiding these mistakes ensures your diy terrarium remains healthy and stable.
Final Thoughts
A successful diy terrarium is not about complexity—it’s about balance. When you choose the right container, build proper layers, select suitable plants, and control moisture and light, you create a self-sustaining miniature ecosystem.
With these five proven tips, you can confidently build a beautiful and long-lasting diy terrarium that enhances any home or workspace.